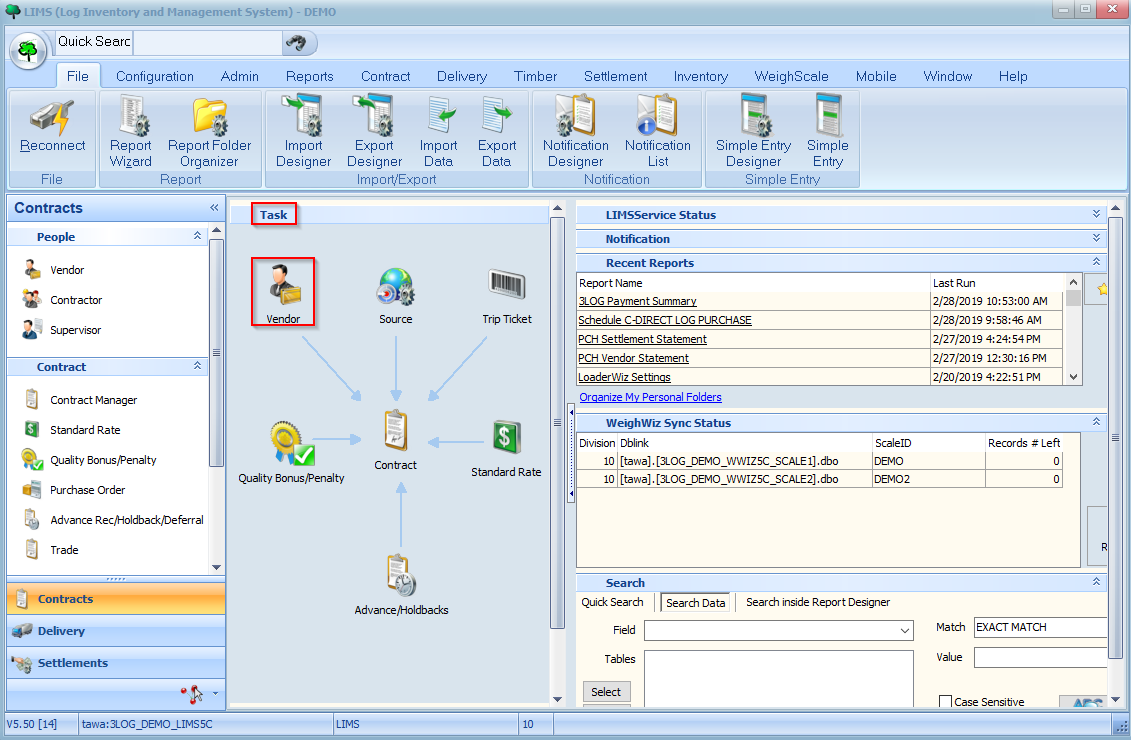
To begin setting up a vendor, click on the Vendor icon on the Task pane:
Alternatively, you may launch the Vendor screen by clicking on the Vendor button under the Contract menu:

You should now see a listing of vendors in your system as shown below:

You can scroll using your mouse or use the different toolbar buttons on the left hand side to navigate through your list of vendors:
The button allows you to move to the first record in the list while the button moves you to the last record. The and buttons move you to the previous and next records respectively. You may hover over each of the buttons on the toolbar to see a tooltip describing its function.
Double click on a vendor or click on the Maintenance tab to view its details

Now, click on the button to create a new vendor. Create a vendor by filling in the Vendor ID, Vendor Name, and Pay Term fields with the following values:
Note: If there are any other required fields based on how your LIMS system was set up, be sure to fill those in as well. Required fields have a yellow background.
Your completed form should look similar to the following:

Click the button on the toolbar to save your changes. If you make any errors or wish to add/update any details, you may edit it. If you make any data entry errors while updating a value you can use the button to cancel or roll back your changes. The button allows you to delete the record. The button lets you refresh the record and see any changes that other users may have made. The button lets you duplicate the current record which you can then modify accordingly to create a similar record. Lastly, thebutton lets you export a record to Microsoft Excel. These toolbar buttons offer the same standard functionality across the different screens in LIMS.
One important point to note regarding vendors is that once you use one in a contract, you can no longer edit the Vendor ID.